Replacement of dying fan on a Sapphire Radeon HD6850
I've got a Sapphire Radeon HD6850 graphics card where the cooling fan was dying. It did no longer cool properly and at the same time caused extensive vibrations and noise. With that fan, under load the card immediately reached out for temperatures above 100 °C. I did not want that to happen and so I decided to replace the fan, which turned out to be not as easy as I would have guessed.
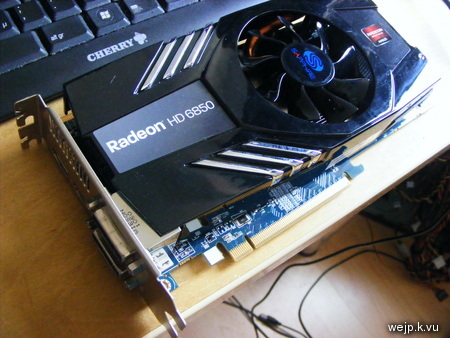
I've got a Sapphire Radeon HD6850 graphics card where the cooling fan was dying. It did no longer cool properly and at the same time caused extensive vibrations and noise. With that fan, under load the card immediately reached out for temperatures above 100 °C. I did not want that to happen and so I decided to replace the fan, which turned out to be not as easy as I would have guessed.

The problem with this card is, that you cannot remove the plastic cover surrounding the fan without first removing the whole heatsink. I have taken a few photos to document the process. Unfortunately I did not take a picture at every step, but I'll describe what I have done.
If you are careful, the fan itself can be removed without removing the plastic cover. It is attached to the heatsink with three tiny screws. In my case this was not enough, because I wanted to replace the fan (which by the way looks and feels very cheap and flimsy) by an ordinary 80 mm case fan. So I had to remove the plastic cover and to do that, remove the whole heatsink in the first place. To remove the heatsink one has to loosen the four big screws at the bottom of the PCB. Then the heatsink with the plastic cover still attached can be removed. Then, on the bottom of the heatsink there are a few tiny screws which hold the plastic cover in place. Those need to be removed.
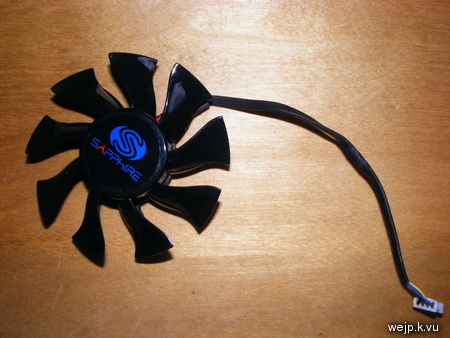
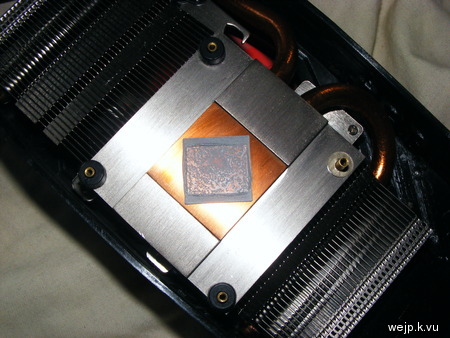
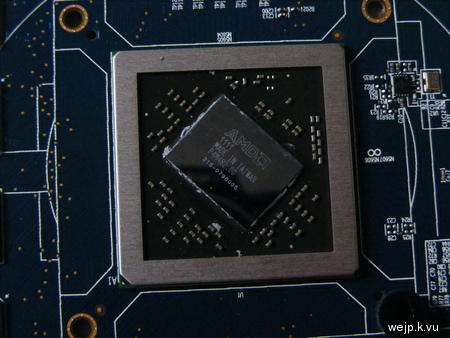
After removing the heatsink I first cleaned the bottom of the heatsink and the GPU to be able to later apply a thin layer of thermal grease onto the cleaned GPU die and then reinstall the heatsink.
This is what the card looks like without the heatsink...
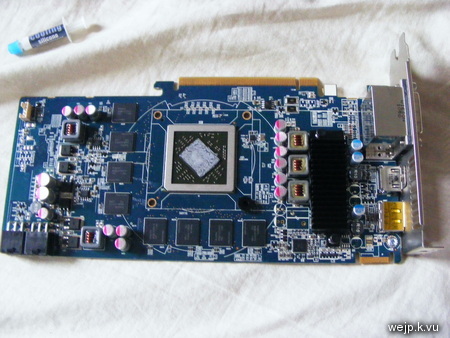
...the GPU cleaned and in detail...
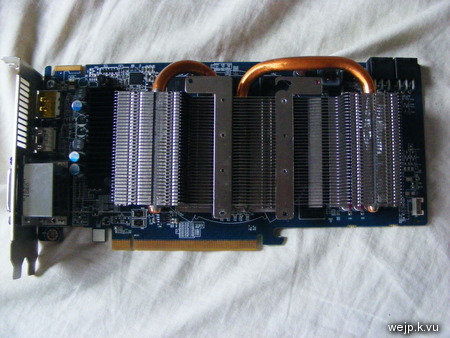
...and this is what the card looks like with the heatsink reinstalled, but without its plastic cover.
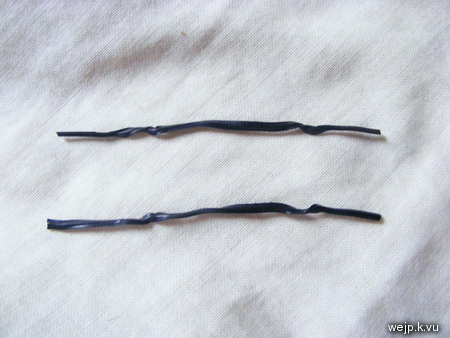
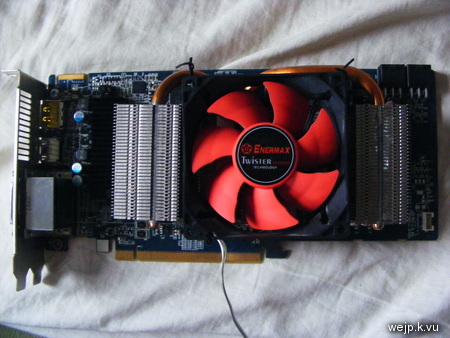
A 80 mm case fan fits nicely in the space previously occupied by the old fan. The only problem was how to attach it properly to the heatsink. Although there are some holes for screws on the heatsink, they are not exactly in the right place for a 80 mm case fan. What I did to secure the fan on the heatsink, was to take four short isolated pieces of wire and use those wires to wire the fan firmly onto the heatsink through the holes, which worked well even though they were slightly out of place.
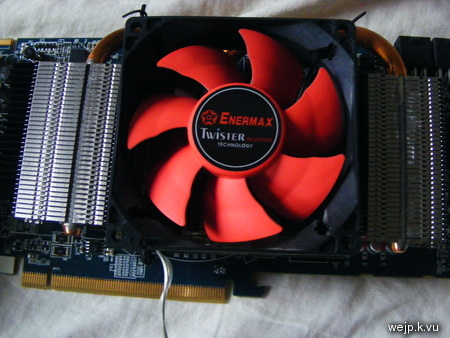
As the new fan's dimensions are somewhat bigger than those of the old fan, the plastic cover does not fit onto the card anymore and the card is a little thicker than before. The good thing is, with the new fan the card is pretty silent, especially compared to how loud the broken fan was before and the temperature stays well below those dangerous temperatures measured with the broken fan.
One note for those of you, who might want to try that with another graphics card model: In my case I have connected the new fan to the mainboard just as one would do with a case fan, which means there is no fan connected to the graphics card fan connector. This works fine with my card (Sapphire Radeon HD 6850), but other cards might either refuse to work if there is no working fan attached or only run on the lowest possible clock settings. You should probably check that before disassembling the whole card. ;)
If you are careful, the fan itself can be removed without removing the plastic cover. It is attached to the heatsink with three tiny screws. In my case this was not enough, because I wanted to replace the fan (which by the way looks and feels very cheap and flimsy) by an ordinary 80 mm case fan. So I had to remove the plastic cover and to do that, remove the whole heatsink in the first place. To remove the heatsink one has to loosen the four big screws at the bottom of the PCB. Then the heatsink with the plastic cover still attached can be removed. Then, on the bottom of the heatsink there are a few tiny screws which hold the plastic cover in place. Those need to be removed.


After removing the heatsink I first cleaned the bottom of the heatsink and the GPU to be able to later apply a thin layer of thermal grease onto the cleaned GPU die and then reinstall the heatsink.
This is what the card looks like without the heatsink...

...the GPU cleaned and in detail...

...and this is what the card looks like with the heatsink reinstalled, but without its plastic cover.

A 80 mm case fan fits nicely in the space previously occupied by the old fan. The only problem was how to attach it properly to the heatsink. Although there are some holes for screws on the heatsink, they are not exactly in the right place for a 80 mm case fan. What I did to secure the fan on the heatsink, was to take four short isolated pieces of wire and use those wires to wire the fan firmly onto the heatsink through the holes, which worked well even though they were slightly out of place.


As the new fan's dimensions are somewhat bigger than those of the old fan, the plastic cover does not fit onto the card anymore and the card is a little thicker than before. The good thing is, with the new fan the card is pretty silent, especially compared to how loud the broken fan was before and the temperature stays well below those dangerous temperatures measured with the broken fan.

One note for those of you, who might want to try that with another graphics card model: In my case I have connected the new fan to the mainboard just as one would do with a case fan, which means there is no fan connected to the graphics card fan connector. This works fine with my card (Sapphire Radeon HD 6850), but other cards might either refuse to work if there is no working fan attached or only run on the lowest possible clock settings. You should probably check that before disassembling the whole card. ;)
